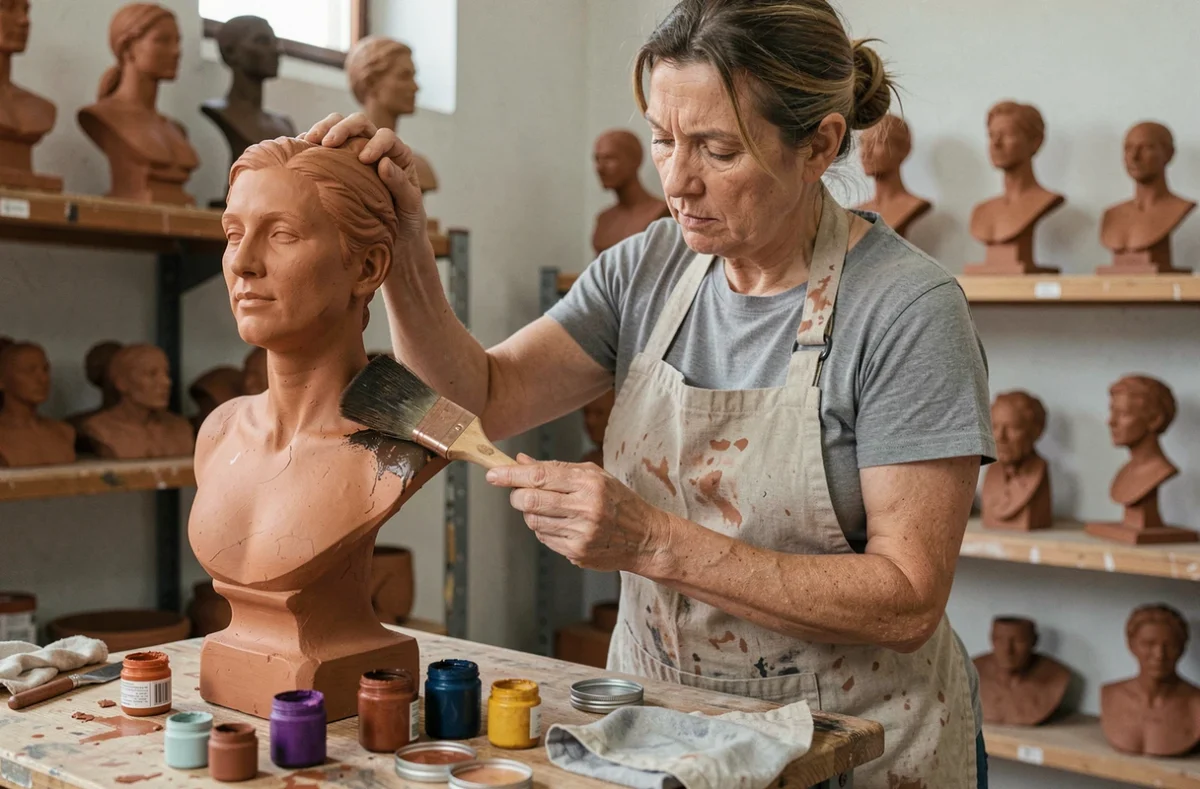
A terracotta sculpture straight out of the kiln often looks matte, almost dull. Carefully modeled details seem to disappear beneath a uniform surface. Patina restores what firing has taken away: contrast, depth, and the play of light across every hollow.
Cold patina or slip before firing: two different approaches
Before choosing a color or tool, the first decision is when to apply the color. Slip is applied before firing: it is a thin layer of colored clay that fuses with the clay body in the kiln. The color becomes an integral part of the material and resists abrasion.
Cold patina, on the other hand, is applied after firing. It remains on the surface, offering more flexibility to adjust shades, touch up an area, or build up layers. However, it is more vulnerable to rubbing and moisture.
When people talk about achieving a patina on a terracotta sculpture, they are almost always referring to the cold-patina technique. Most sculptors use it in their studios because it lets them work on the final appearance without putting the piece back in the kiln.
Not sure which to choose? If your piece has already been fired and you want to enhance it without taking any risks, cold patina is the most straightforward option.
Pigments, wax, and binder: choosing the right materials for patinating terracotta
A basic patina consists of three components: pigment for color, a binder to hold it in place, and sometimes wax for the finish. Each combination produces a different result.
Natural pigments
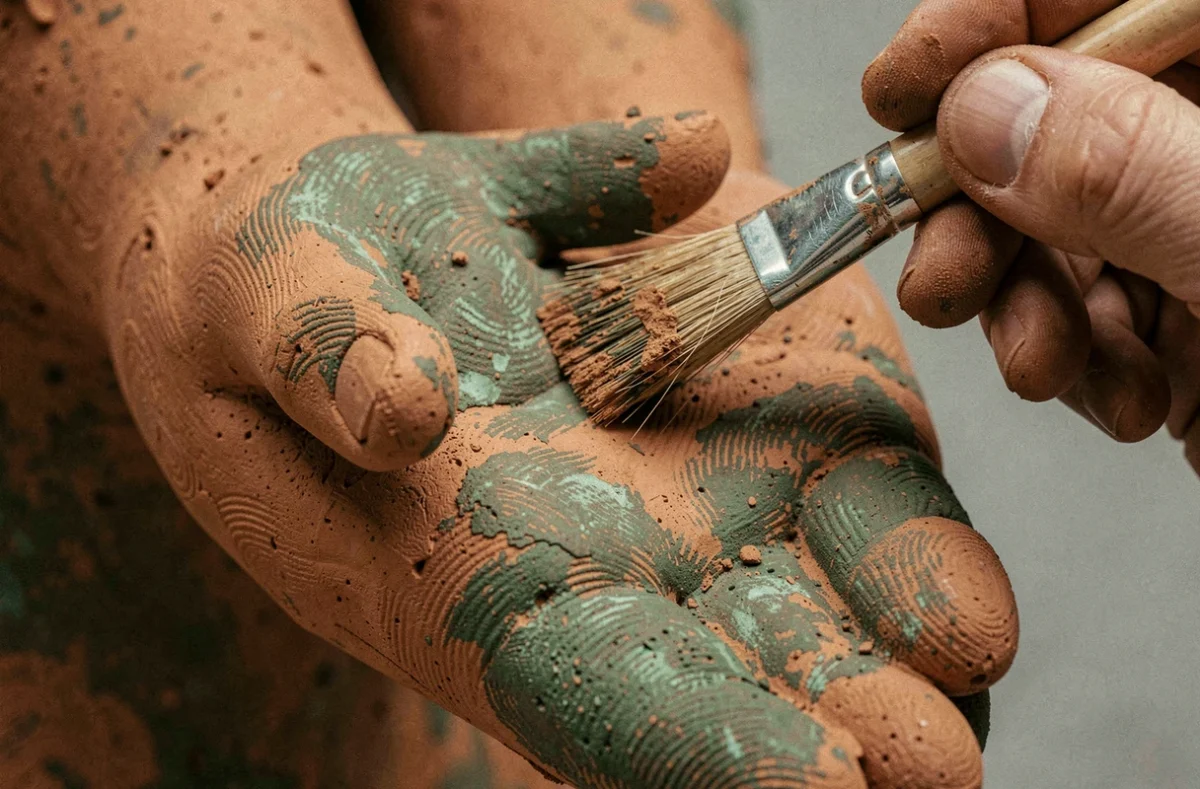
Powdered pigments (ochres, sienna earth, lampblack, iron oxide) are mixed with a binder before application. They produce matte shades similar to the natural colors of clay. Their fine grain adheres well to the sculpture’s relief.
The binder
The most common binder for a terracotta patina is an acrylic medium diluted with water. It gives you time to work and lets you wipe away excess with a damp cloth. Some sculptors also use shellac diluted with alcohol, which gives a warmer look but dries quickly.
Wax as a finish
Wax does not protect terracotta from water. It gives the surface a pleasant satin sheen and brings out the color variations. A thin coat of clear or lightly tinted beeswax, applied with a soft cloth, is all you need. Don’t rely on it to waterproof the piece: water may leave rings or alter the finish.
Applying patina to a sculpture: a layer-by-layer method
Patina is built up in several passes. Here are the steps involved:
- Apply an opaque base coat over the entire surface using a diluted mixture of pigment and binder. This coat evens out the base color and seals the surface pores in the clay.
- Let it dry completely before applying the next coat. Porous clay may dry quickly, but a coat that is still damp will prevent the next one from adhering properly.
- Apply one or two lighter or darker shades to the raised areas, immediately wiping the flat surfaces with a cloth. This brings out the hollows.
- Finish with a light buffing of wax if you want a satin sheen.
Each coat should be thin and wiped back thoroughly. A common mistake is to apply too much material at once. The result is a flat, uniform color that hides all the modeling. Three light coats are better than one thick one.
Wiping makes all the difference
Have you noticed how the same color mixture can produce two completely different results depending on how you wipe it back? On terracotta, the material settles into the hollows and the marks left by modeling tools. Wiping the raised areas with a dry cloth removes pigment from the high points and leaves it concentrated in the low areas.
Wiping creates the contrast, not the amount of pigment. A slightly rough cotton cloth works better than a very soft one, which glides over the surface without removing enough material.
Test on a shard before patinating the sculpture
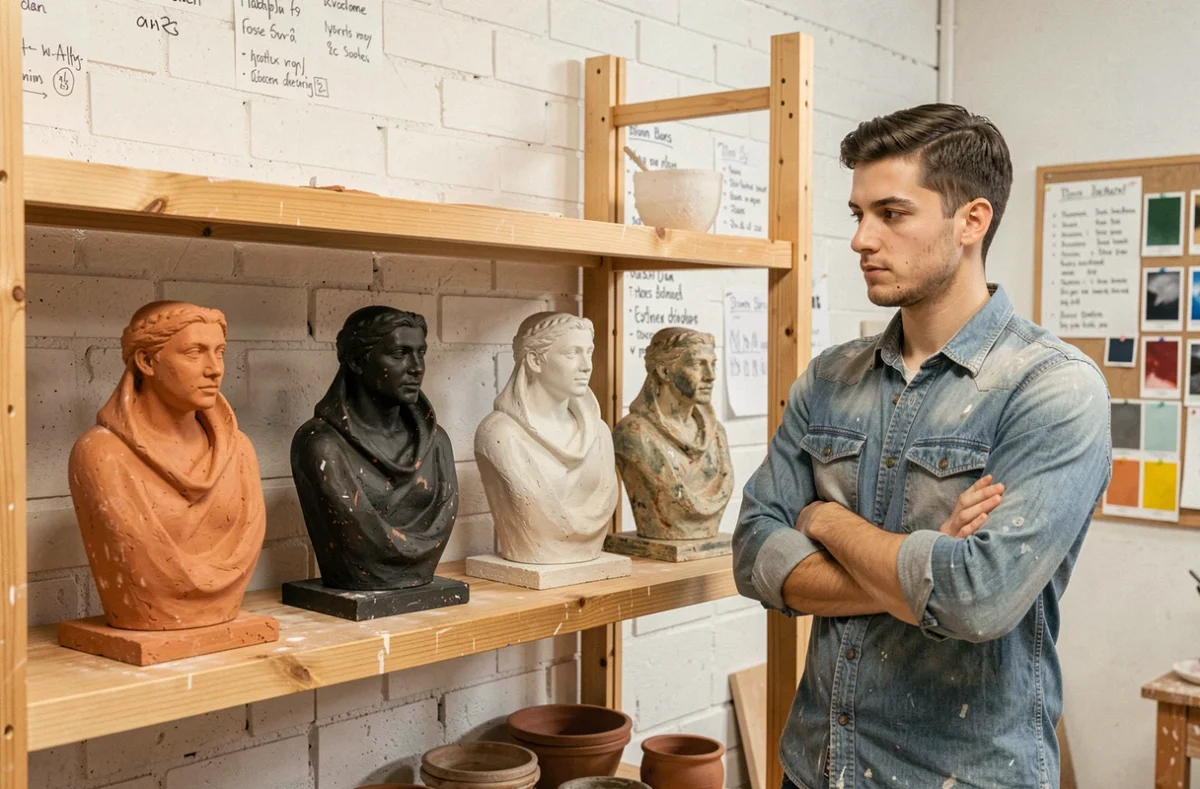
Terracotta is porous, and each type of clay absorbs color differently. Grogged clay, with its grainy surface, holds more pigment than smooth clay. The result may be noticeably darker than you expected.
Testing on a piece of the same terracotta helps avoid unpleasant surprises. Always keep a shard or offcut from your latest firing to test the mixture you plan to use. In just a few minutes, you can see whether the shade meets your expectations, whether the binder is diluted enough, and whether the pigment adheres properly to the relief.
This simple habit can make the difference between a patina you’re happy with and one you regret at the first wipe.
Caring for a patinated sculpture and making it last
Cold patina is inherently delicate. A few precautions will help it last longer:
- Dust with a soft, dry brush. A damp cloth may dissolve some binders or leave marks on the wax.
- Avoid direct contact with water or prolonged exposure to moisture. Terracotta absorbs water even under a coat of wax, which can cause stains.
- Keep a record of the products used (type of pigment, binder, number of coats, wax). If you need to touch up the piece in a few months, these notes will help you reproduce the exact same finish.
A patina notebook is no trivial matter. Sculptors who work in series know that reproducing a shade without notes is almost impossible, especially when using natural pigment mixtures, whose shades vary from one batch to another.
Patina is not a decorative varnish applied at the end of the process. It extends the modeling work by revealing what firing has flattened. Every layer, every wipe, and every pigment choice contributes to the piece’s final character, just as much as the sculptor’s touch on the still-damp clay.