
The irregularity of the ground remains one of the most underestimated obstacles when installing outdoor structures with pallets. Ground deformations, often considered secondary, compromise the stability and durability of the arrangements. Traditional fastening systems, sometimes deemed sufficient, quickly reveal their limits when faced with moisture or soil movement.
Some recommend adding blocks or wedges, while others rely on specific anchors to prevent any slipping. The ideal technique will depend on the soil, the weight of your terrace, and its exposure to wind or rain.
Further reading : Preparing for Your Long Journey to Australia: Flight Duration and Practical Tips
Leveling a ground with pallets: what you need to know before you start
Preparing the ground directly conditions the success of a solid project. Before you embark on making a pallet terrace, address the leveling issue rigorously. A stable and flat ground is the key to a lasting installation: even the slightest bump can cause imbalances or water stagnation under the structure over time.
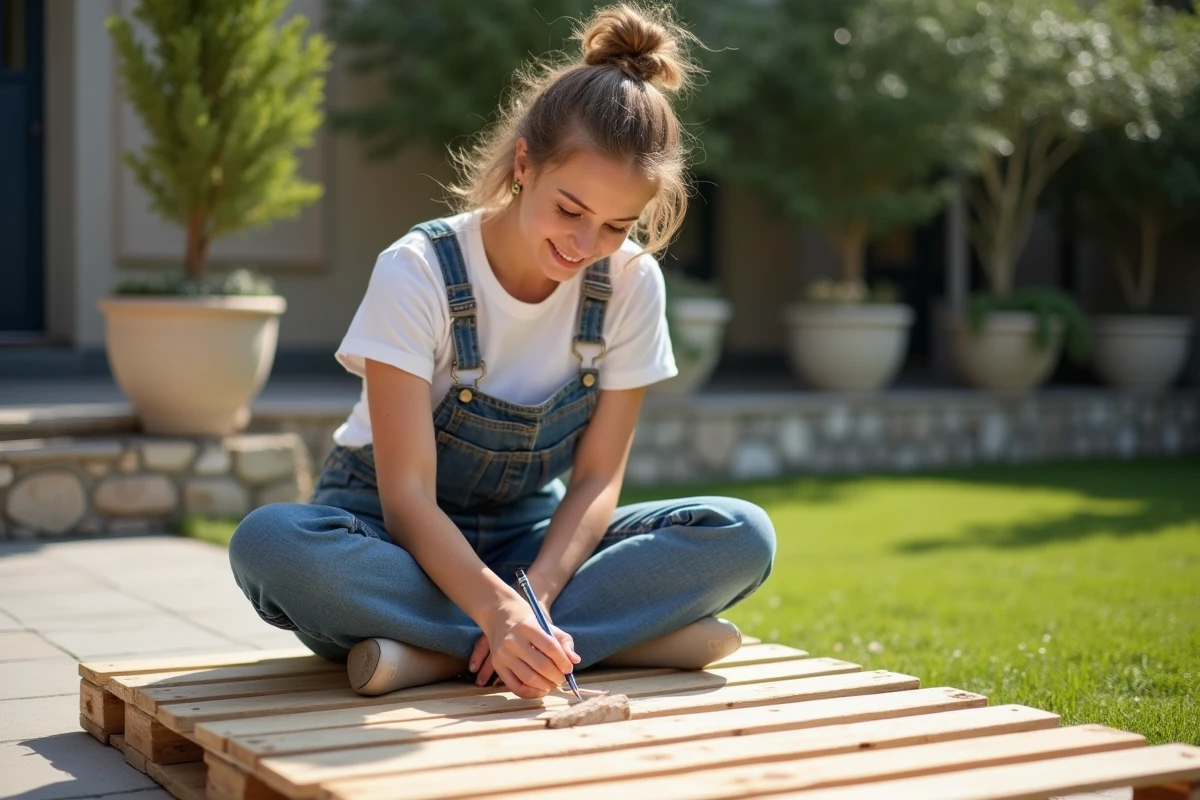
The choice of pallets influences the robustness of the result. Favor European pallets (EUR/EPAL) with heat treatment (HT), known for their durability and absence of toxic products. Pallets marked MB, which involve the use of methyl bromide, should be avoided. A rented pallet will withstand moisture much better than a lightweight pallet, which is only suitable for temporary use.
You may also like : Practical Guide to Easily Access the CAFC Online and Manage Your Procedures
To guide you, here are the main steps to follow when preparing the ground:
- Define the dedicated area, then carefully remove any roots and stones present.
- Spread a layer of gravel to promote drainage and strengthen the base.
- Add a layer of sand to smooth out and correct small level defects.
- Roll out a geotextile film, effective in slowing down the regrowth of weeds and limiting moisture under the terrace.
A spirit level is essential to ensure a slope of about 1% towards the garden: water flows naturally, and the wood remains healthy. If the ground is uneven, add battens or adjustable blocks to stabilize the structure. A base treated this way multiplies the lifespan of your terrace.
What are the key points for obtaining a stable and durable base?
The stability of a pallet terrace relies on meticulous ground preparation. Start with a layer of gravel that ensures drainage and stability: puddles and stagnant moisture will no longer have a place. On top of that, a thin layer of sand helps you achieve a perfectly flat surface, limiting the appearance of pressure points that generate cracks or unstable areas.
Interpose a geotextile film between the soil and the mineral fill. This barrier retains weeds while protecting the pallet structure. Remember to create a slight slope of 1% so that rainwater drains away easily.
If the ground does not allow for perfect flatness, add solid battens or adjust the height using adjustable blocks: each pallet will then rest correctly, without play.
| Element | Function |
|---|---|
| Gravel | Drainage, stabilization |
| Sand | Leveling, absorption of irregularities |
| Geotextile film | Weed blockage, wood protection |
| Battens / blocks | Reinforcement, correction of unevenness |
The assembly of these materials, tested on real projects, provides a reliable and durable structure that truly stands the test of time.
Practical tips for securely fixing your pallets and succeeding in your DIY terrace
Once the base is checked, assembling the pallets requires a method: connect each wooden pallet to its neighbors with A2 stainless steel screws, their corrosion resistance protects the whole for several seasons. Aim for screws of at least 80 mm for optimal hold, even when the terrace accommodates foot traffic or heavy furniture. In some sensitive areas, reinforcing the assembly with a few galvanized nails enhances solidity.
Consider further stabilizing the structure: add battens between the pallets and the ground to limit gaps. On large areas or in case of a slight slope, metal brackets screwed laterally add transverse support without overloading the whole.
Protecting and customizing your terrace
To ensure the longevity of your terrace, carefully treat the wood with a saturator or linseed oil. Even HT-marked pallets benefit from this protection against UV rays and the elements. Avoid varnish, which fails outdoors, and consider using a stain to maintain the charm of raw wood.
Your DIY terrace quickly becomes a lively space: place some cushions, multiply potted plants, add a coffee table, or hang string lights. These details give character to a custom-designed and easy-to-maintain setup. A light sanding and the annual application of oil or saturator are enough to preserve the beauty of the wood.
Soon, you will enjoy an outdoor corner ready to host gatherings and sunny days, solid, personal, and durable.